Thursday, September 10, 2015

The Wee Little Angel

Today I decided to post about the angel I just embroidered. It was a lot of fun and super easy!

Here is a picture of the angel:


The dress is made up of the star stitch, split stitch, and couching (used on the gold thread). The wings are embroidered using the split stitch, and her hands, feet, and face are made up of the back stitch. To create a twisted, braided look, I used the stem stitch for the hair.

Happy stitching!

-Avamae

Wednesday, September 9, 2015

Chocolate Chip Cookie Recipe

Today I will break the monotony of stitch tutorial and mix it up a bit! I will teach you how to make delicious chocolate chip cookies.

First, preheat the oven to 350. Then, soften 1 to 2 sticks of butter, depending on how greasy you like your cookies. If they are not softened enough, just slice them thinly and stick them in the mixer. In this case, I used 1 1/2 sticks of butter.


Next, select a small bowl for the dry ingredients. Measure 2 1/4 cups of flour and dump it into the bowl.


Also mix in 1/2 teaspoon of baking soda. 


If you used unsalted butter, also mix in 1/2 teaspoon of salt. However, if you did use it (like I did), leave it out.

Then, add a shake of cinnamon and mix.


Continue to the next bowl, which I mix in the mixer. Deposit the butter into the bowl along with 1 cup of brown sugar, as shown:


Then, measure 1/2 cup of white sugar, and a few drops of vanilla.


After mixing, crack two eggs into the bowl and beat.


Combine the wet ingredients, and then add the previous bowl and mix everything together. I add half a bag of chocolate chips also.


Pop them in the preheated oven, and wait for about ten-fifteen minutes before taking them out. 


Enjoy!


-Avamae

Tuesday, September 8, 2015

Satin Stitch

The Satin Stitch is an extremely widely used filling stitch. Its concept is simple, but mastering the satin stitch takes practice.

To begin, outline the shape you want to fill with the satin stitch. In this case, I chose an hourglass to fit with the Lazy Daisies.


Then, enter in a corner or side of the figure, and exit on the opposite side.


Continue this until you have reached the end. Here is how it looks half-way through:


When it is completed, it should look fully filled, like this:


This is the completed strip:


-Avamae

Monday, September 7, 2015

Lazy Daisies

The Lazy Daisy stitch is a variation of the blanket stitch. It creates a pretty and simple flower used in many embroideries.

First, draw a star-like shape on your material with a fabric pencil. Enter through the middle of the star:


Exit right next to where you just entered but do not pull through.


Reenter at the end of the line you drew, as shown:


Pull through.


To complete the petal, exit on the other side of the petal to latch it in place:


To start the next petal, enter just as your did previously through the middle.


This is the finished flower with all the petals completed:


-Avamae

:D

Monday, August 17, 2015

Laced Running Stitch

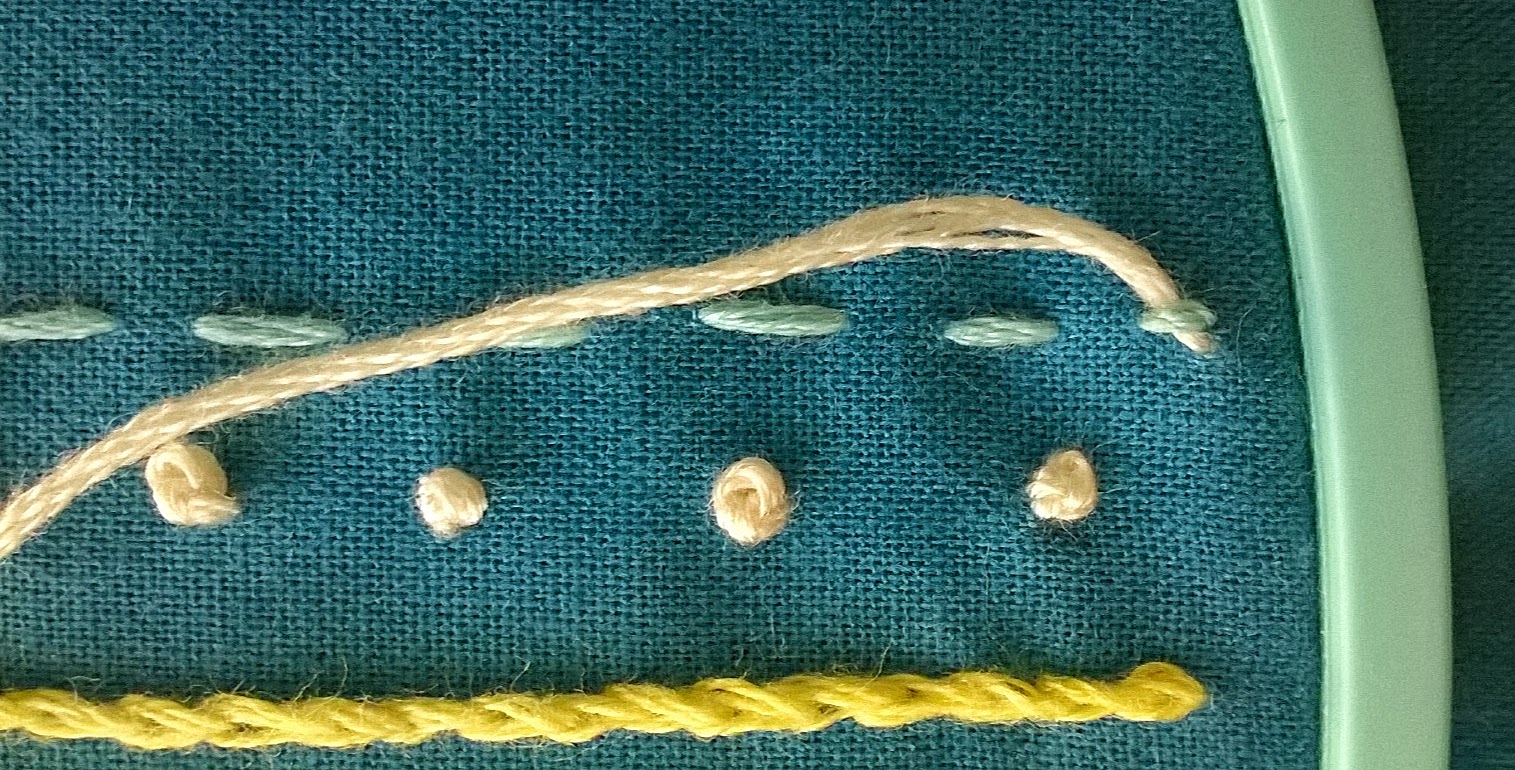
To create this stitch, select one-three different colored flosses (I used yellow, creamish white, and baby blue). To begin, sew a running stitch with your first floss.


To complete a running stitch, enter the fabric as shown above, and exit about a quarter inch away.


This is how the end result should look like:


Now, we will begin to lace it. Choose the second floss, thread and knot it, and enter right next to the first running stitch, like so:


(I started on the wrong side since I accidentally flipped it over, but it is normally easier to start on from the left to the right.) Anyway, go through the first stitch, but do not reenter the fabric.


Enter the second stitch on the opposite side.


Continue until you reach the end. Reenter the fabric and knot it like this:


Thread and knot your next floss. Begin on the opposite side of the running stitch this time:


Enter the first stitch.


When you have reached the opposite end, exit right next to the corresponding stitch:


Your finished laced running stitch should look like this:


-Avamae

Saturday, August 15, 2015

French Knots

This knot, in my opinion, is the easiest and most commonly used embroidery knot. It is very easy and extremely useful!

First, enter the fabric on your drawn dot.


Twist the thread 1-4 times around your needle. Traditionally it was only twisted around once, but I prefer doing it twice. Four times, or at least, for most fabrics, is excessive, because it is difficult to pull through.


Then, exit right next to - but not on top of - where you just entered, keeping the working thread taut. It should form a neat knot!


Finished product:


-Avamae

Blanket Stitch

The blanket stitch is a very simple, useful stitch. It can be used for sewing the edges of fabrics together, or as a regular embroidery stitch

First, enter your fabric on your drawn line:


Then, exit slightly above and the the right of where you just entered, not pulling the floss through fully.


Reenter below the floss, pulling all the way through so that it tightens.


When you have finished, make another tiny stitch:


This is how it looks completed:


-Avamae